Theme Licensing
When you buy a theme from ThemeForest, you can choose between two types of licenses:
- Regular License - Use this if the final product you build with the theme will be free for people to use
- Extended License - Use this if people will have to pay to use the final product you build with the theme.
For detailed license terms, please visit the ThemeForest Licensing Page.
Note
One license is valid for one domain only. To use theme on multiple websites, you’ll need to buy extra licenses from here.
License FAQ
Do I need a separate license for each website?
Yes. Each license allows you to use the theme on one finished website. If you want to use the theme on another site, you’ll need to purchase an additional license.
Can I build the site on a test server first?
Absolutely. You can install the theme on a test or staging site while building it, then move it to your live site once you’re ready to launch.
Can I run both a test and a live site with one license?
Yes, but only one domain can be registered at a time. If you move from a test or staging site to a live domain, deactivate the license on the test or staging site first, then activate it on the live domain.
Is a new license required for WordPress Multisite?
No additional license is needed for WordPress Multisite installations as long as all sites are under the same domain.
About WordPress
To install this WordPress theme, you must have a working version of WordPress already set up. If you need help installing WordPress, please follow the instructions in the
WordPress Codex . Below are some useful links for more WordPress information:
Server Requirements
Baug requires WordPress 6.3 or newer (tested up to WordPress 7.1) and PHP 7.4 or newer (see WordPress requirements), with MySQL 5.7 or above (or MariaDB 10.4 or above). For a full list of recommended PHP extensions, please check the Hosting Handbook.
We suggest reaching out to your hosting provider to verify that your server’s PHP configuration meets the following recommended limits:
-
max_execution_time 300
-
memory_limit 256M
-
post_max_size 128M
-
upload_max_filesize 128M
If you’re using an unmanaged VPS or dedicated server, check your php.ini file. You can also adjust your .htaccess file in your site’s root directory to include the following settings:
-
php_value max_execution_time 300
-
php_value memory_limit 256M
-
php_value post_max_size 128M
-
php_value upload_max_filesize 128M
Configuring these values can help you avoid errors when setting up your site, especially during the demo content import.
Installing the Theme
Start by unzipping the package you downloaded from ThemeForest. Inside, you’ll find the
baug.zip file — this is the WordPress theme.
You have two options for installation: Use the WordPress admin uploader or install it manually
through FTP.
1) Install through WordPress Dashboard:
- Log in to your WordPress admin area.
-
Go to Appearance > Themes, click Add New, then select
Upload Theme.
- Select the
baug.zip file and click Install Now.
-
When the installation completes, click Activate or go to
Appearance > Themes and activate it there.
2) Install via FTP:
- Connect to your server using an FTP client.
- Unzip the
baug.zip file — use only the extracted /baug folder.
- Upload the
baug folder to your /wp-content/themes directory.
- Go to Appearance > Themes in your dashboard and activate the theme.
How to Activate Your Theme
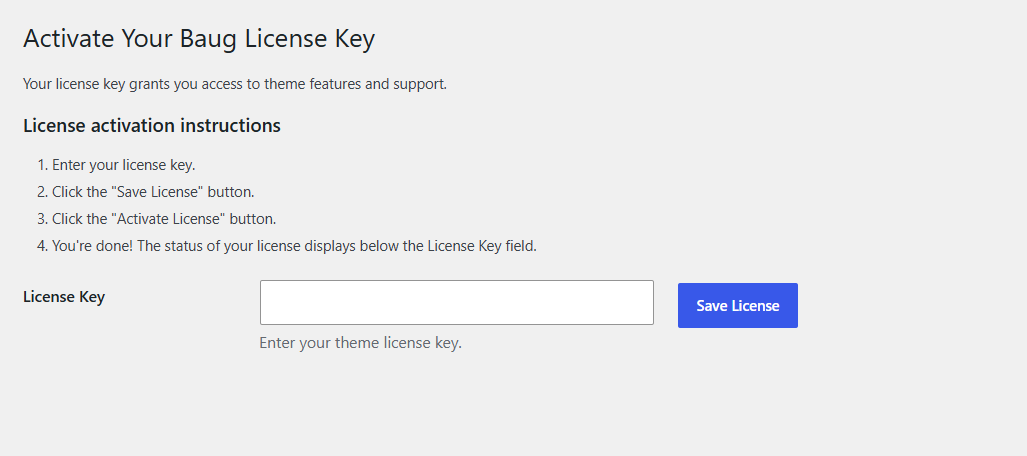
To unlock full access to your theme, you’ll need to enter your Item Purchase Code from ThemeForest. The required plugins installer and the demo content import become available only after the license is activated.
See this guide for help finding your purchase code.
When you have it ready, go to Appearance > Baug Theme License in your WordPress dashboard, enter the code in the License Key field and click Activate License.
Install Required Plugins
Once the theme is installed, you’ll need to add the necessary plugins. A notification will appear to guide you through installing them.
- Click Begin installing plugins, or navigate to Appearance > Install Plugins.
- You’ll see a list of required and recommended plugins. Check all items, choose Install from the bulk actions dropdown, and click Apply.
- When installation finishes, click Return to Required Plugins Installer.
- Next, activate the plugins: check them all again, pick Activate from bulk actions, and hit Apply.
- Finally, click Return to the Dashboard to continue setting up your site.
Use a Child Theme
If you plan to modify the theme’s files or functions, we strongly recommend setting up a child theme. This way, your custom edits won’t be lost when the main theme gets updated. If you don’t need to adjust the core theme files, you can skip this section.
Installing a child theme works just like adding the parent theme. Find the baug-child.zip file in your download package and upload it through your WordPress dashboard. Or, you can unzip it and upload the folder via FTP (see the
theme installation section
for details).
Note
Always install the child theme before importing demo content. If you don’t, your theme settings could be overwritten.
Import Demo Content
Our theme provides an easy-to-use one-click demo import feature, so you can set up your site exactly like the live demo in just a few steps.
- Make sure the theme license is activated and all required plugins are installed and active.
- In your WordPress dashboard, navigate to Appearance > Import Demo Data.
- Click the Import Demo button, then confirm by selecting Continue & Import on the next screen.
- Wait until the import finishes. Please do not close or refresh the page while it is running.
Note
If your demo content imports correctly but the styling doesn’t appear, go to Elementor > Tools and click the Regenerate Files & Data button.
Opening the Site Settings Panel
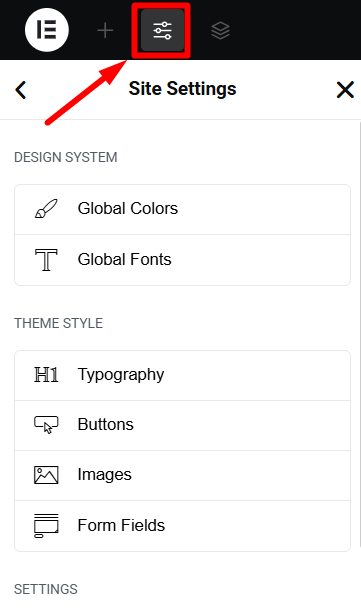
All global styling options in Elementor can be managed through the Site Settings panel within the Elementor Editor. Using this panel helps you maintain consistent fonts and colors across your entire website for a cohesive design.
- Edit any page with Elementor.
- Click the hamburger menu icon in the top-left corner of the Elementor widget panel.
Update Global Colors
- Open the Site Settings panel.
- Select Global Colors.
- Review the system colors listed.
- Click a color swatch to open the Color Picker and choose your desired color.
- Click Update to save your changes.
Update Global Fonts
The demo uses the Saira Google Font for headings and text.
- Open the Site Settings panel.
- Select Global Fonts.
- Check the available system fonts.
- Click the pencil icon to edit the font style.
- Click Update to apply your changes.
Note
Updating Global Fonts and Colors will affect every element on your site that uses those styles.
You’ll find the rest of the theme options under Appearance > Customize.
1) Logo & Site Identity
- Logo: Upload your site’s logo image from the media library.
- Title: Set your site’s name.
- Tagline: Add a brief description or tagline for your site.
- Site Icon: Upload your site’s favicon image.
2) Homepage Settings
These settings let you control how your homepage displays — either as a blog feed or a static page. You can also choose which pages will serve as your homepage and posts page.
3) General Settings
- Preloader: Show a loading animation while pages load.
- Magic Cursor: Enable the Magic Cursor effect.
- Smooth Scrolling: Add smooth scrolling for a better user experience.
- Preloader Icon: Change the default loading icon if desired.
- Header Background Image: Set the page title banner background used on pages that don’t use Elementor.
4) Blog Settings
- Blog Page Title: Enter a title for your blog page.
- Header Background Image: Set the page title banner background for the blog pages.
- Archive Page Layout: Choose Full Width or With Sidebar for blog archives.
- Blog Single Layout: Choose Full Width or With Sidebar for single blog posts.
- Social Sharing: Pick and reorder the platforms shown in the post’s share box (Facebook, Twitter, WhatsApp, LinkedIn, Email, Telegram, YouTube, Copy Link and Instagram).
- YouTube Channel URL: Enter your YouTube channel link used by the YouTube share option.
- Instagram URL: Enter your Instagram profile link used by the Instagram share option.
6) Service Settings
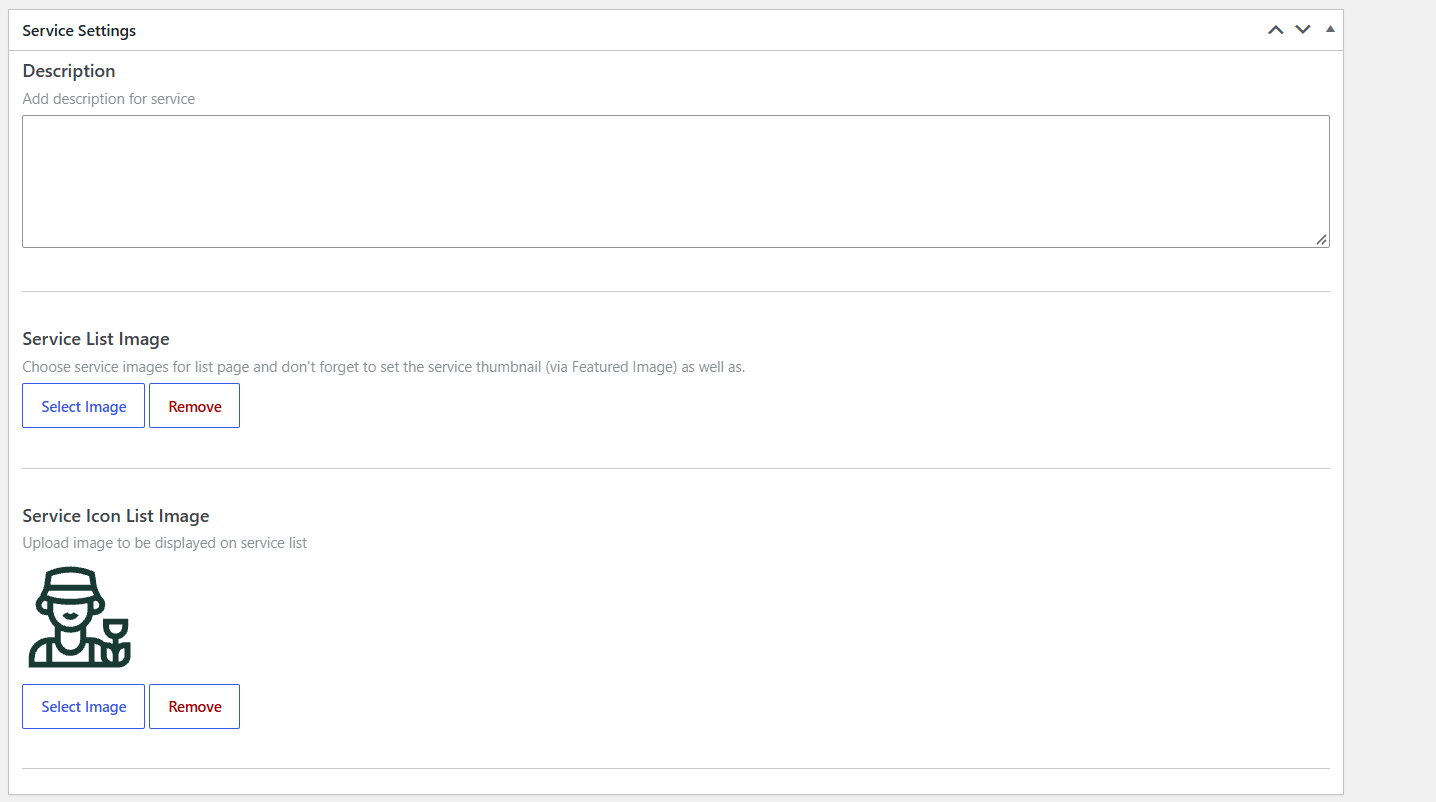
- Service Page Archive Title: Set the title for your services archive page.
- Service Excerpt Length: Set the excerpt length for the service list.
7) Project Settings
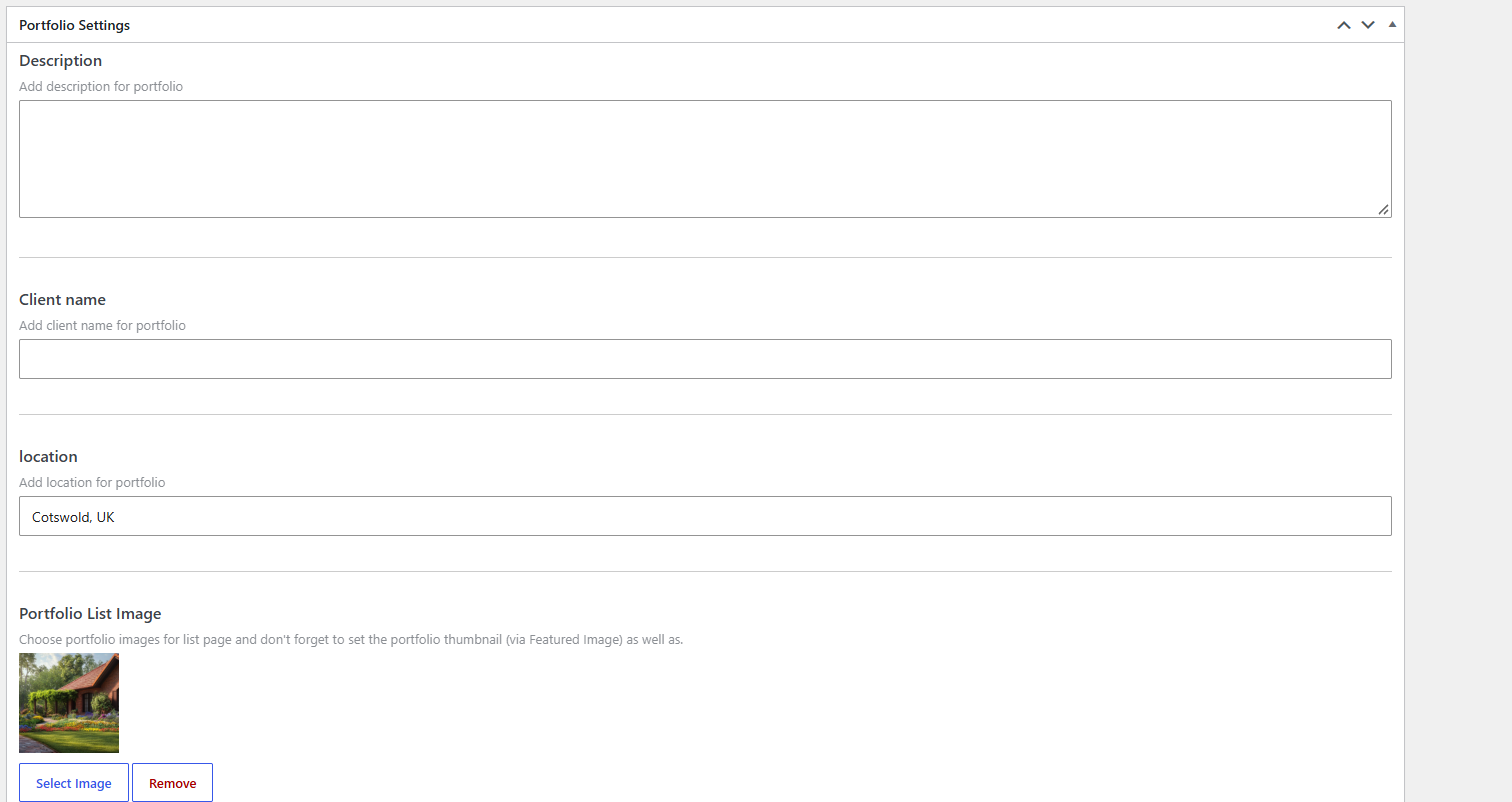
- Project Page Archive Title: Set the title for your projects archive page.
- Project Excerpt Length: Set the excerpt length for the project list.
2. Using Elementor Header Builder
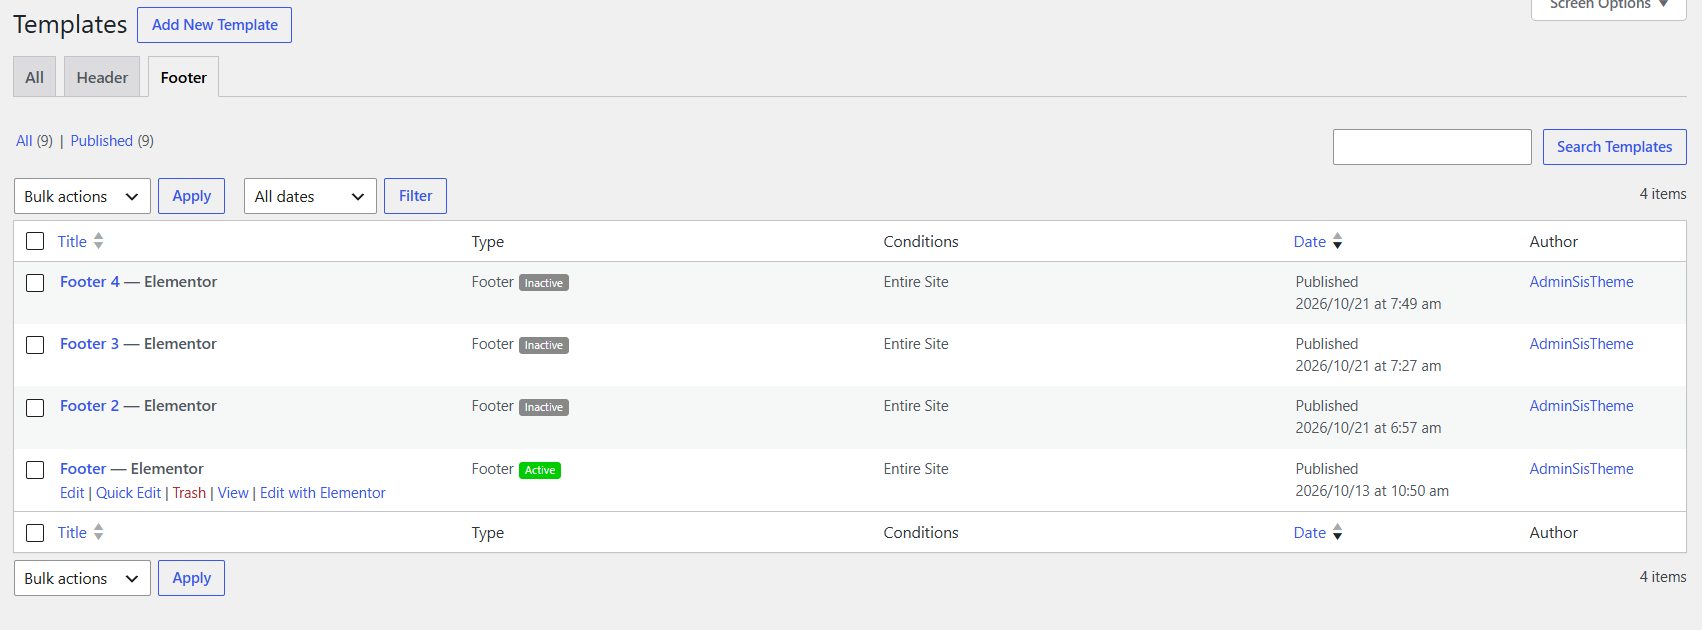
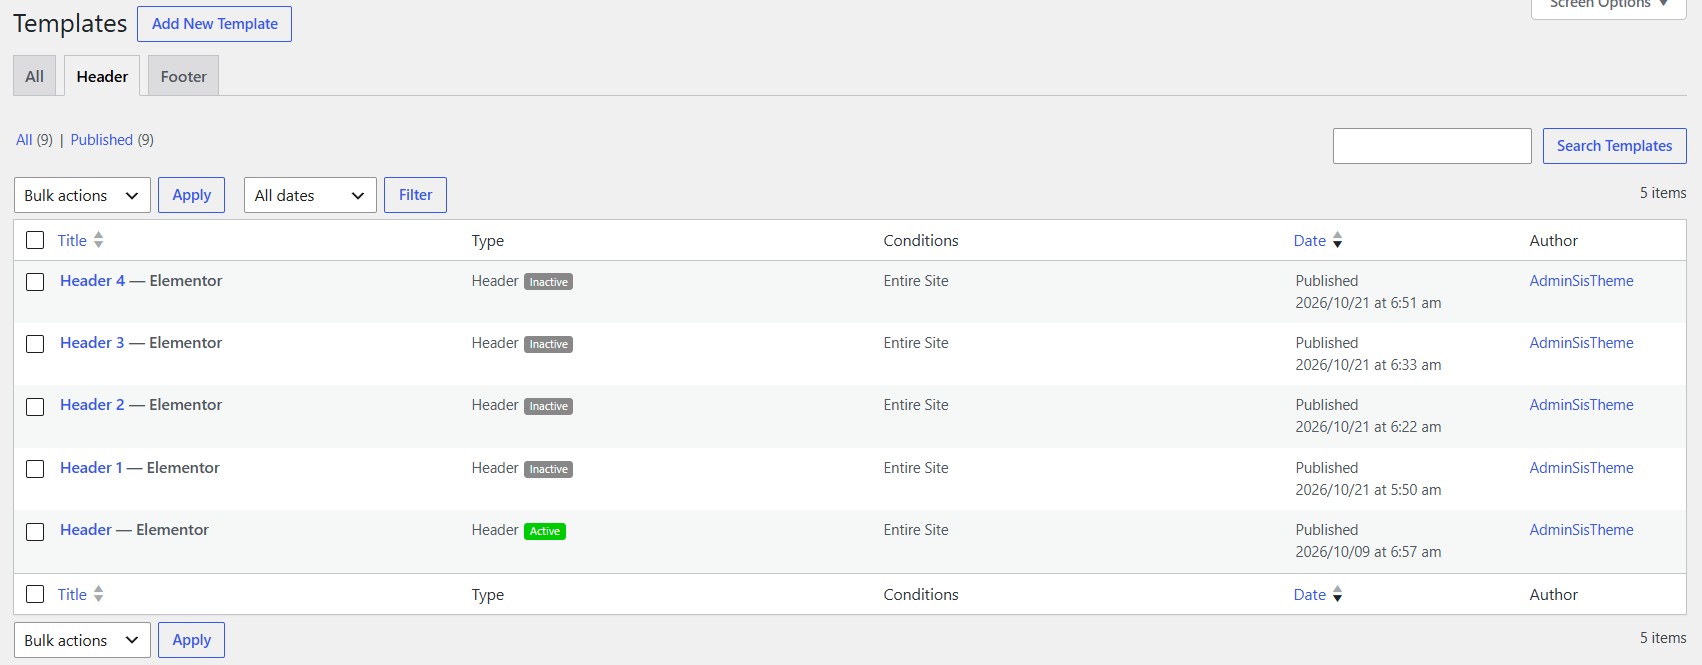
Edit the imported header: When you import the demo, the header is automatically set up. To adjust its design or reorder elements:
-
In your dashboard, go to Appearance > Baug Headers.
-
Click Edit with Elementor to open the editor and start customizing.
Main Menu
To update your main menu items, navigate to Appearance > Menus, choose the Header Menu from the dropdown, make your changes, then save.